In this guide
When do you need to enhance a photo?
Most people searching for “improve photo quality” are in one of three situations, and each has a different answer inside the same tool:
- A small old photo: a family picture you shot from a paper album, or one you received on WhatsApp years ago and want to print. Here enlargement matters most, and with small photos “Smart enhance (AI)” makes the difference.
- A dull product photo: a shop owner photographing stock at home under ordinary light, so the colors come out flat. Here the look matters before enlargement.
- A noisy night shot or a screenshot you want sharper: try the looks and compare with the original before saving.
Online photo enhancers ask you to upload your photo to their server, and some hand back a watermarked copy or want a subscription for full resolution. In Raheeb all processing happens on the iPhone: the photo goes nowhere, and the result is a new copy next to the original.
How to enhance and upscale a photo with Raheeb
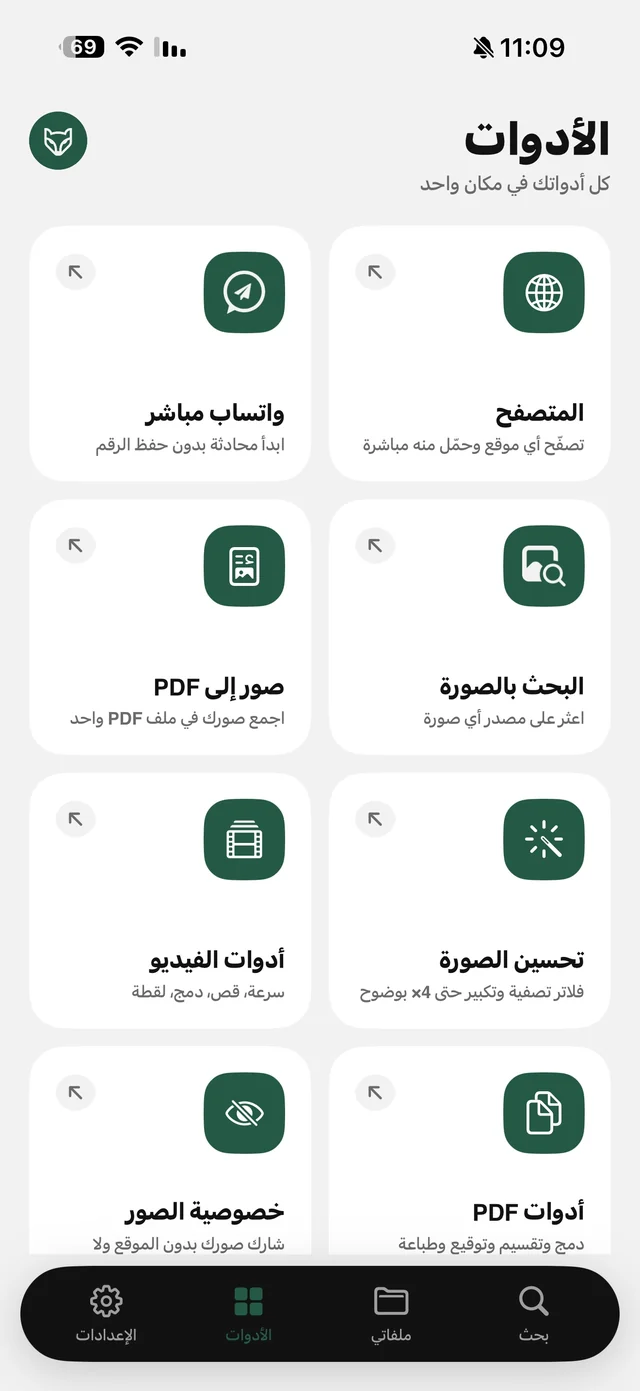
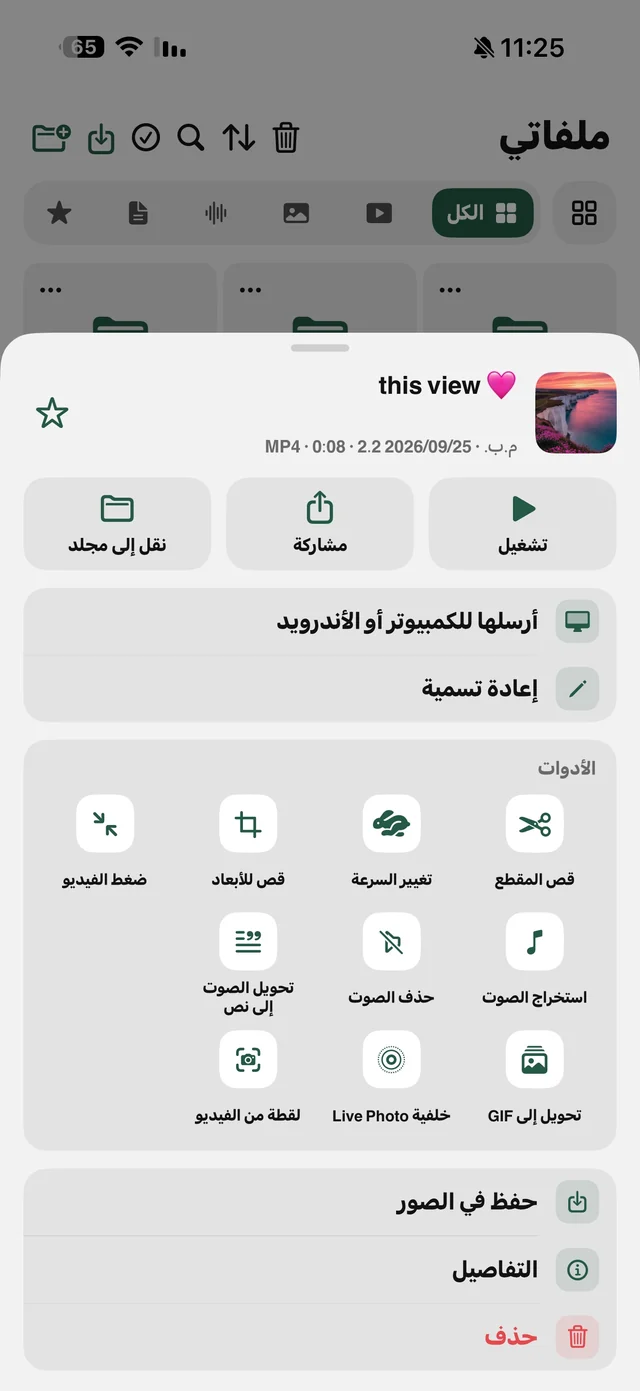
You'll find the tool in two places: the “Image enhance” card in the “Tools” tab, or the ⋯ button on any image inside “My Files”, where it's the first tool under the “Edit photo” group.
- 1Open “Image enhance”From the “Tools” tab and pick a photo, or from ⋯ on an image in “My Files”.
- 2Choose a lookFrom the strip: Auto · Clarity · Denoise · Vivid · Warm · Cool · Chrome · Black & white · Noir. Each look is previewed on your own photo.
- 3Choose the enlargement1×, 2× or 4×, and turn on “Smart enhance (AI)” if you want it.
- 4Compare with the originalPress and hold the photo to see “Original”, and lift your finger to return to the result.
- 5SaveCheck the “Output size”, then tap “Save photo”.
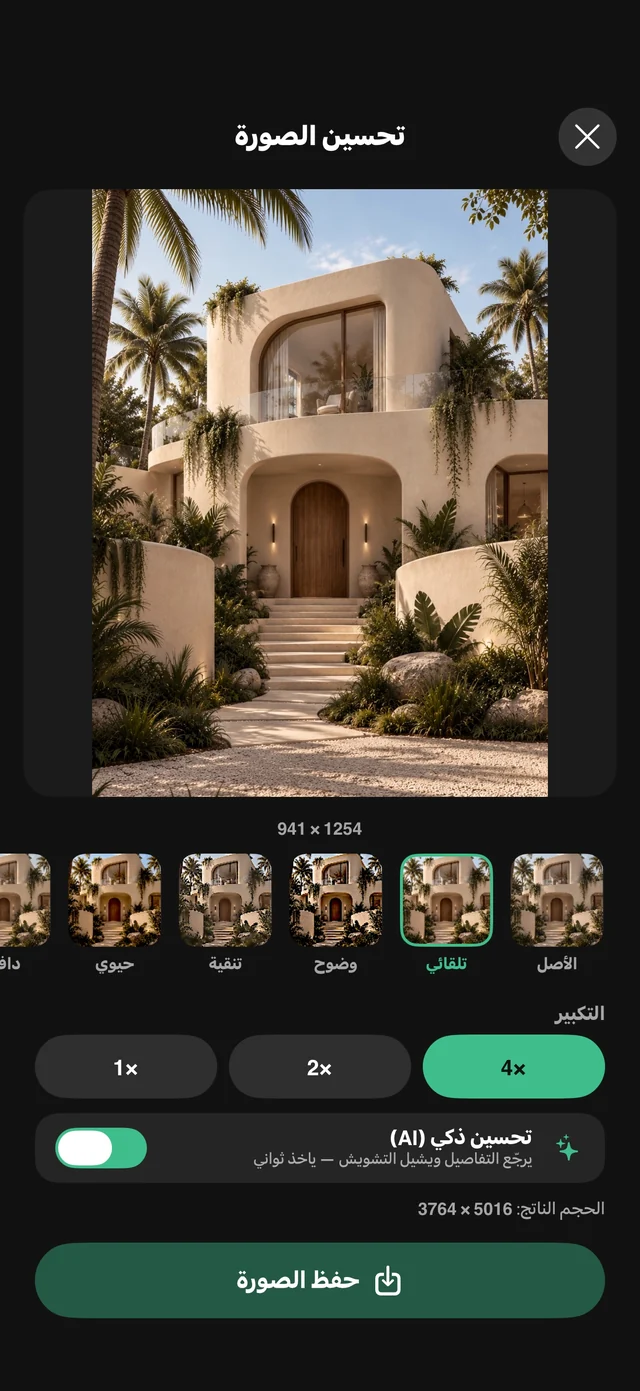
The result is saved as a new copy named after the photo with “(Enhanced)” added, as a JPG — or PNG if the original was PNG. The original is never touched, so you can try several looks and keep the best.
Regular upscaling vs. “Smart enhance (AI)”
2× and 4× double or quadruple the photo's dimensions, with an output cap of 36 megapixels; if a size would go over the cap, that option is greyed out. “Smart enhance (AI)” is an AI upscaler (Real-ESRGAN) that runs on the iPhone itself: it brings back detail and removes noise, and takes a few seconds.
| Regular upscaling | Smart enhance (AI) | |
|---|---|---|
| What it does | Enlarges the dimensions 2× or 4× | Enlarges, restores detail and removes noise |
| Best for | A mid-size photo you want bigger for print or design | A small photo up to about 4.5 megapixels |
| Where it runs | On your device | On your device, no upload |
| Price | Free | Part of Raheeb Pro |
For Pro subscribers, “Smart enhance (AI)” kicks in automatically with 2× and 4×. See the plan details on the pricing page — keeping in mind that free features may change with updates.
An old photo you want to print: the full workflow
Got an old paper print in a family album? Photograph it with your iPhone in daylight without flash, then bring it into “My Files” via “Import to My Files” → “Take with the camera” or “From Photos”. Open “Image enhance” on it, try “Auto”, press and hold to compare with the original, and upscale 2× or 4× depending on the print size. Then, from the same ⋯ menu, choose “Print” and pick 4 × 6 or 5 × 7 photo paper — printing details are in the PDF tools and printing guide.

“Image enhance” and upscaling up to 4× are free in Raheeb.
For shop owners: remove the background after enhancing
A product photo usually needs two steps: fix the colors, then separate the product from the home background. From the ⋯ menu on the image in “My Files” → the “Edit photo” group → “Remove background”, and wait a few seconds. You get a transparent PNG next to the original, named with “(Cutout)”, at the same resolution and with no watermark — ready for a post, a store listing or a sticker.
- Requires iOS 17 or later; on older versions the option doesn't appear at all.
- It separates the main subject in one tap — no brush and no manual selection — so the result depends on how clearly the product stands out.
- If there's no clear subject you'll see “No subject found in this photo” and nothing is saved.
- Processing uses the iPhone's built-in Vision engine, so no internet is needed.
Shooting tip: put the product on a surface that contrasts with it, under even light, and the edges come out cleaner. Afterwards you can upscale the cutout 2× or 4× in “Image enhance”, gather your product shots into a PDF catalog, or send them to the shop computer over Wi-Fi with no cable. And before posting, don't forget to remove the location from the photo if you took it at home.
For comparison: the iPhone's Photos app lets you touch and hold a subject to copy it without its background. It's handy for a quick cutout to paste into a chat, but it doesn't save a tidy PNG file next to the original, and it doesn't give you enhancement or upscaling in the same place.